

Hot Yoga Sequencing: Smart Rules for Balanced Class Design
Creating a flow that feels fluid and creative at room temperature is relatively straightforward. However, hot yoga sequencing is an entirely different beast. Having managed several heated studios and designed curriculum for 200-hour hot yoga certifications, I’ve seen how poorly planned sequences can cause joint instability, physical exhaustion, and nausea. In a room heated to 105°F ($40.6^\circ\text{C}$), you are not just sequencing muscle movements; you are sequencing blood flow, heart rate, and internal body heat. If you link too many intense standing flows without allowing the heart rate to recover, or compress the joints before they are stabilized, your students will struggle. That is why understanding hot yoga sequencing rules is essential to crafting a safe, energetic, and balanced class. In this guide, we’ll share the structural blueprints and safety guidelines we teach our senior instructors.
Many teachers make the mistake of taking a standard Vinyasa Flow sequence and simply running it in a hot room. This is a recipe for disaster. The combination of rapid movement, constant weight-bearing transitions (like Chaturanga to Upward Dog), and extreme heat places immense strain on the cardiovascular system. It also increases the risk of wrist, shoulder, and lower back injuries due to sweat-slicked mats and over-lax ligaments. A smart hot yoga sequence respect the heat—using it to deepen holds, build endurance, and detoxify, while providing strategic moments of stillness to keep the body’s systems balanced.
1. The Golden Rule of Hot Yoga Sequencing: Heart Rate Recovery
The most important physiological concept in hot yoga sequencing is heart rate recovery. In a standard yoga class, a student’s heart rate goes up during sun salutations and comes down naturally during standing postures or balances. In a room heated to 105°F, however, the heart rate remains elevated even during stationary poses because the body is constantly working to pump blood to the skin to cool down. If you sequence a continuous, rapid flow without breaks, the heart rate will eventually exceed the anaerobic threshold, causing the student to feel lightheaded, nauseous, or panicky.
To prevent this, you must build ‘active recovery’ zones directly into your sequence:
- Tadasana (Mountain Pose) Holds: After a standing flow, have students stand in stillness for 3 to 5 breaths, focusing on slow exhalations to lower their heart rate.
- Pranayama Breaks: Integrate specific breathing exercises (like deep belly breathing or cooling Sitali pranayama) to trigger the parasympathetic nervous system.
- Short Savasanas: Traditional Bikram sequencing places a 20-second Savasana between every single floor posture. This allows the heart and circulatory system to stabilize before the next compression.
2. Spinal Warm-up and Muscle Engagement: Preventing Joint Laxity
External heat makes muscles feel warm, loose, and flexible. However, this flexibility can be deceptive. While the muscles are pliable, the ligaments and tendons (which hold your bones and joints together) also become loose. If you move directly into deep stretches or heavy weight-bearing poses before activating the core stabilizer muscles, you risk destabilizing key joints—specifically the sacroiliac (SI) joint, the lumbar spine, and the shoulders.
Your sequence must begin with a dedicated spinal warm-up that activates the core and moves the spine in all six anatomical directions before any standing work begins:
- Flexion & Extension (Cat/Cow): Gently mobilizes the vertebrae.
- Lateral Bending (Left/Right): Opens the intercostal muscles of the ribs, improving lung capacity.
- Spinal Twisting (Left/Right): Compresses and releases the abdominal organs, warming up the deep spinal rotators.
- Core Activation: Include basic planks or bridge poses in the warm-up to turn on the transverse abdominis and glutes, which will protect the lower back during standing flows.
3. The 4-Part Hot Yoga Sequencing Blueprint
To design a balanced class, we teach our instructors to divide their 60-minute classes into four distinct phases, each with a specific physiological objective:
Phase 1: Integration & Warm-up (10–12 Minutes)
Objective: Acclimatize to the room’s temperature, establish the breath, and warm up the spine. Start with deep pranayama, followed by cat/cow, gentle lunges, and slow sun salutations. If you’re teaching a beginner-focused class, read our hot yoga for beginners guide to structure your initial cues.
Phase 2: Standing Series & Peak Poses (22–25 Minutes)
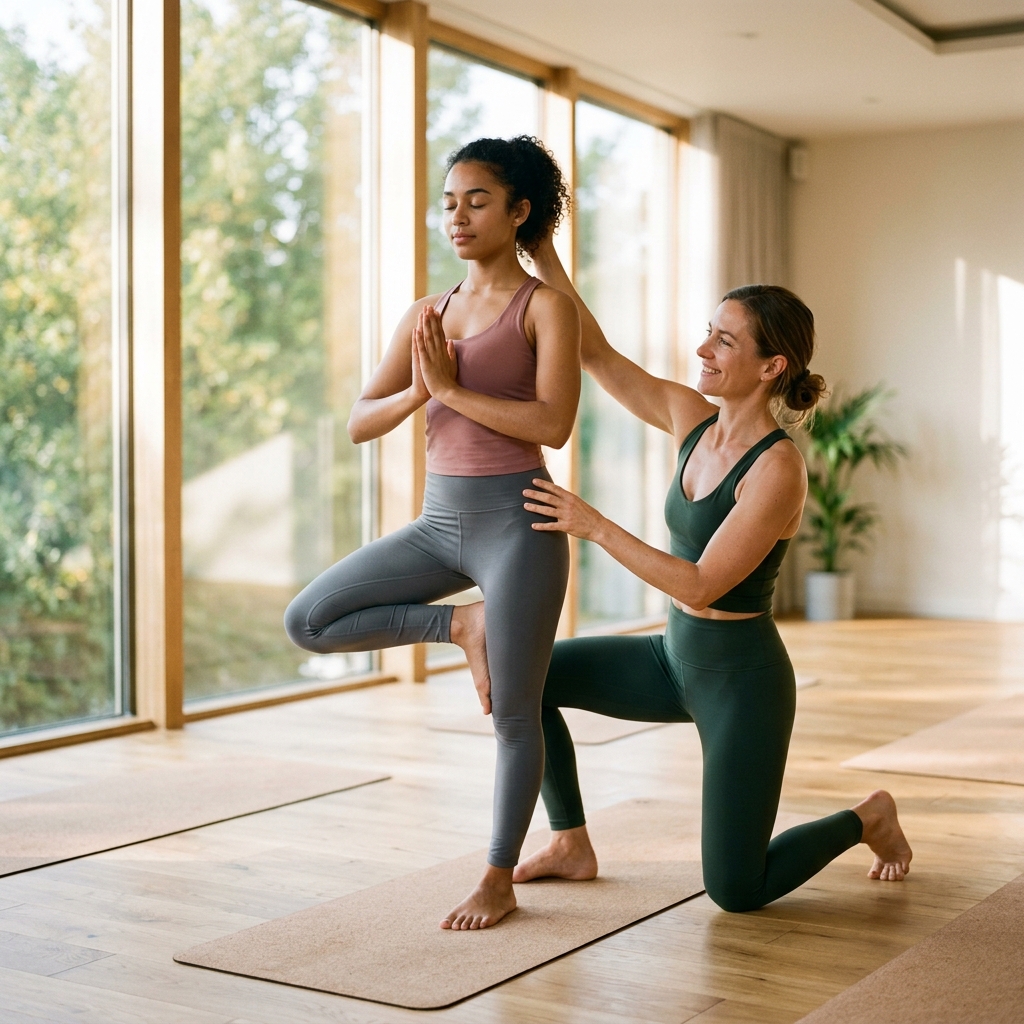
Objective: Build cardiovascular endurance, leg strength, and balance. Sequence standing balances (like Tree, Eagle, or Standing Head-to-Knee) and strength poses (Warrior II, Triangle). Place your most challenging peak pose in the middle of this phase, followed immediately by a standing recovery pose like Tadasana or a wide-legged forward fold.
Phase 3: Floor Integration & Spine Strengthening (15–18 Minutes)
Objective: Strengthen the posterior chain, open the hips, and compress the abdominal organs. Move students down to their mats—ensure they have a grippy setup, perhaps utilizing a premium towel like the Manduka eQua reviewed in our Manduka Yogitoes Towel Review. Sequence locust, cobra, half-tortoise, and camel. Always follow deep backbends with neutral counter-poses.
Phase 4: Cool-Down & Final Savasana (8–10 Minutes)
Objective: Lower core body temperature, slow down respiration, and integrate the practice. Sequence a gentle supine twist, a seated forward bend, and a long, quiet Savasana. Encourage students to lay completely still to allow their cardiovascular systems to return to baseline.
Hot Yoga 4-Phase Sequencing Matrix
Here is a quick-reference structural template for your class design:
| Class Phase | Target Postures | Physiological Objective | Key Safety Cue |
|---|---|---|---|
| 1. Warm-up | Cat/Cow, Planks, Low Lunges | Core activation & spinal mobility | ‘Engage the lower belly to protect the lumbar spine.’ |
| 2. Standing Series | Warrior II, Triangle, Balancing Poses | Cardio endurance & leg strength | ‘Keep exhalations slow and steady to manage heart rate.’ |
| 3. Floor Series | Cobra, Bow, Camel, Bridge | Back strengthening & abdominal compression | ‘Avoid squeezing the glutes too hard during deep backbends.’ |
| 4. Cool-Down | Seated twists, Savasana | Thermoregulation & parasympathetic reset | ‘Allow your body to completely surrender to the mat.’ |
FAQ Section (4 Target FAQs for Teachers)
How do we sequence a hot yoga class to accommodate both beginners and advanced students safely?
We train our instructors to use a ‘layering’ approach. Teach the basic foundation of a pose first, ensuring all students are aligned and stable. Once the foundation is set, offer a second layer for advanced students (e.g., binding or lifting a foot) while explicitly cueing beginners to stay at the first layer. Never sequence complex variations as the starting point.
Why should we avoid excessive Vinyasa chaturangas in a room heated to 105°F?
Chaturanga Dandasana is a highly demanding upper-body strength transition. In a heated room, sweat makes mats slippery, which compromises shoulder stability. Doing dozens of rapid chaturangas in the heat leads to rapid shoulder fatigue, resulting in poor alignment that can damage the rotator cuffs and strain the wrists.
What is the purpose of placing short Savasanas between floor postures in hot yoga?
Floor postures in hot yoga often involve deep spinal compressions and extensions (like Cobra and Camel). Placing a 20-second Savasana between these poses allows the heart rate to drop, the blood pressure to equalize, and fresh oxygenated blood to flood back into the compressed spinal discs, maximizing the therapeutic benefits of the postures.
How does infrared heating affect how we sequence a class compared to forced air?
Infrared heating heats the body’s tissues directly rather than heating the surrounding air. In an infrared heated room, the air feels easier to breathe, which means you can sequence slightly more dynamic flows with less risk of CO2-induced claustrophobia. However, because muscles warm up very quickly under infrared waves, teachers must still cue muscle engagement to prevent overstretching.
Medical Disclaimer: The information in this article is for educational and informational purposes only. Practicing hot yoga increases cardiovascular strain and core temperature. Consult a medical professional before starting home hot yoga if you have heart conditions, blood pressure issues, autonomic nervous disorders, or if you are pregnant. Exit the heated room immediately if you experience dizziness, nausea, or lightheadedness.
Ready to Start Your Training?
Become a certified Hot Yoga teacher today. Explore our flexible training programs.